In this tutorial we are going to show you how to quickly and easily replace a dead series segment in the centre of a LED ribbon.

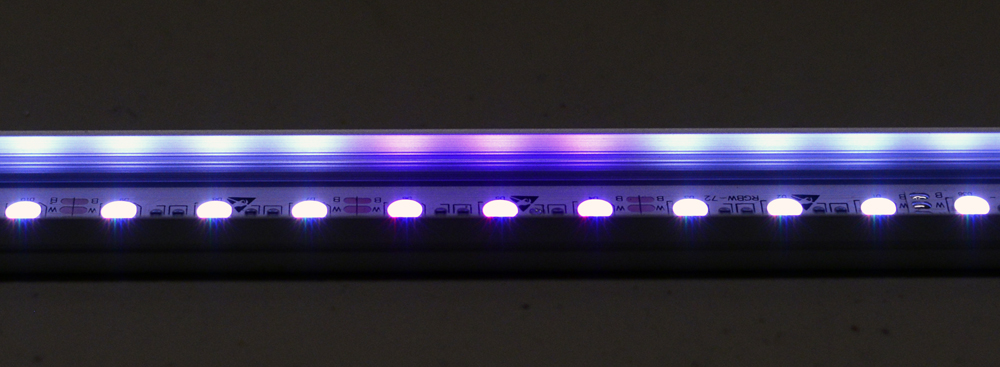
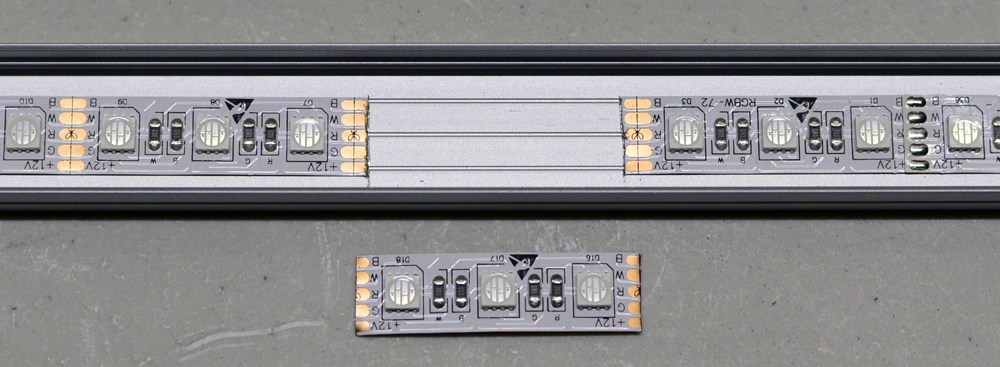
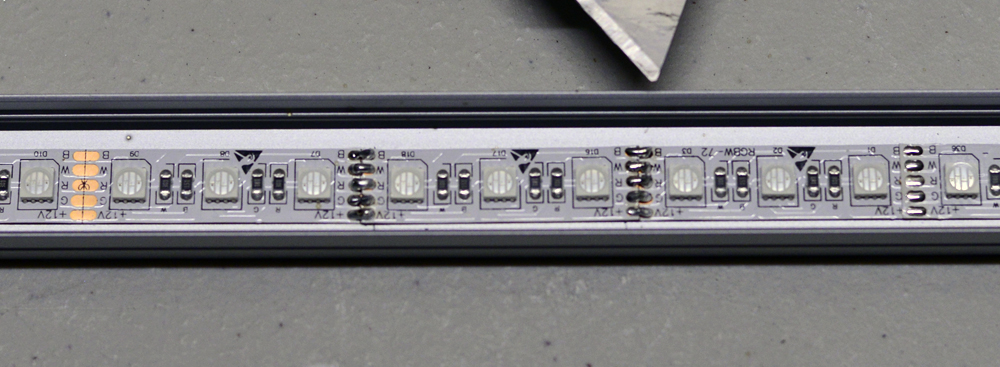
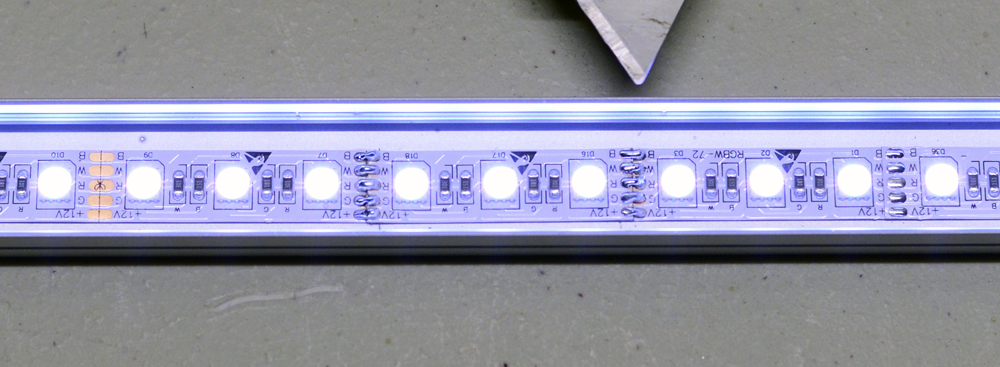
LED Ribbons are made up of sections of series circuits connected to each other by a parallel circuit. Occasionally a resistor or LED emitter in one of the series circuits gets physically knocked off leaving you with a section of your ribbon that no longer works properly. The section could be completely dead if it is a single colour circuit, or it could be mixing incorrect colours if it is a multi-colour circuit.

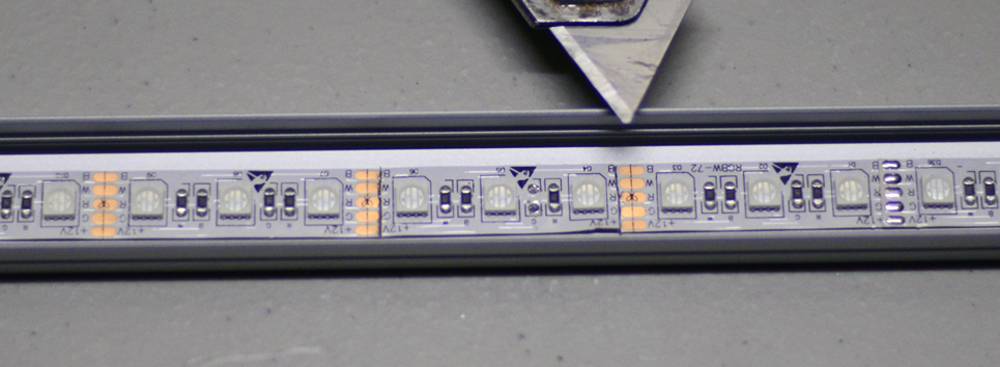
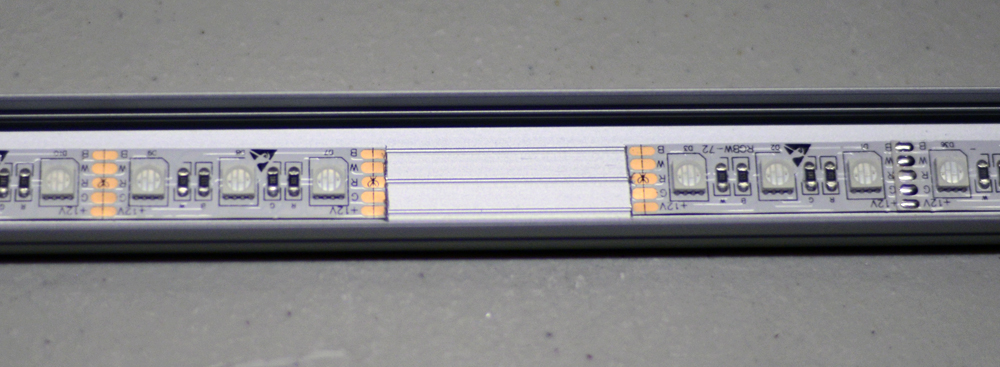
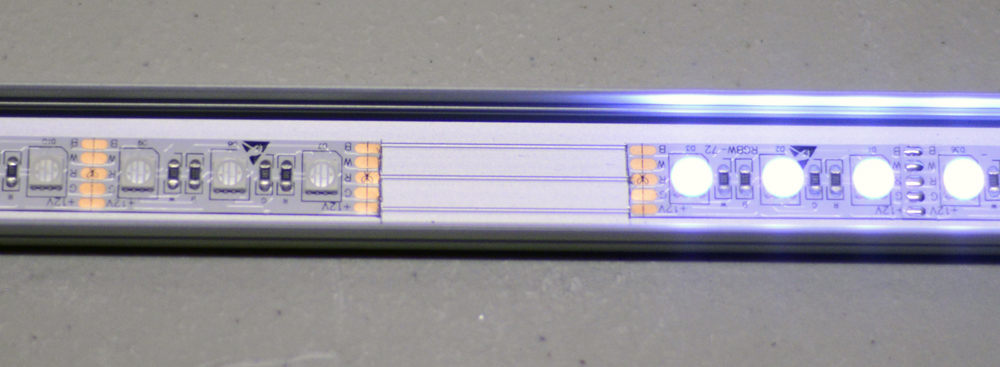
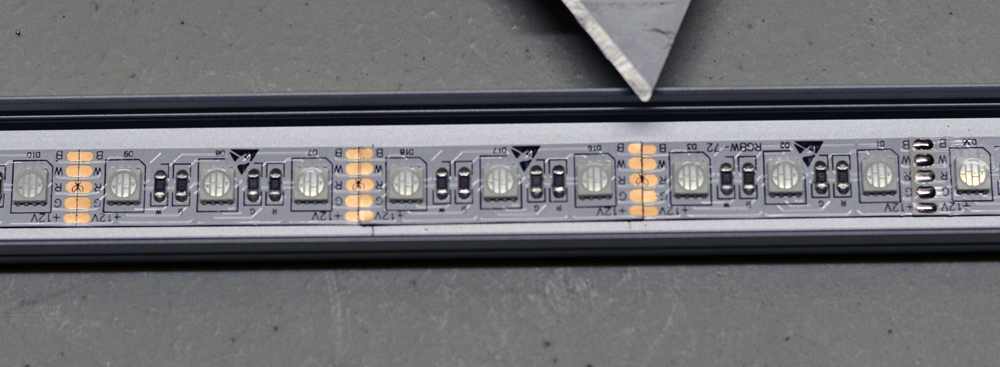
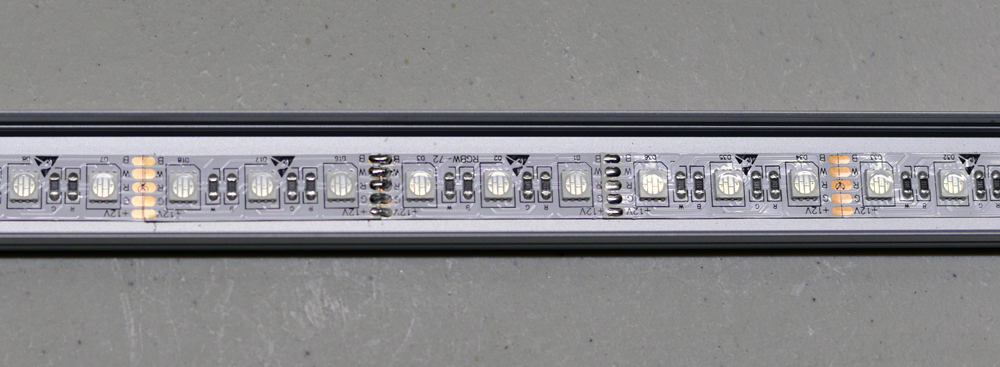
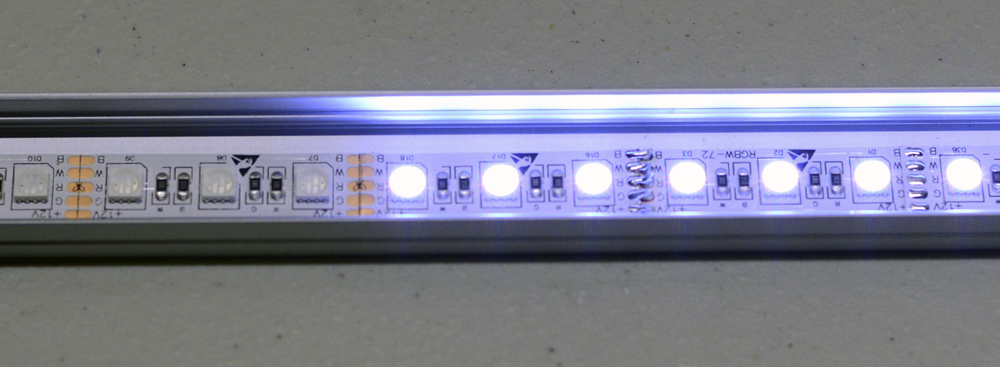
Thankfully there is a simple solution to this issue, we will simply cut out the bad segment and replace it with a working segment.

**NOTE:
Be sure to completely remove the ribbon from any power source while cutting or soldering to make sure you do not electrocute yourself or short out any dimmers or power supplies that you may be using.
At times during this tutorial we power up the strip for demonstration purposes only.
We recommend finishing the repair with no power present and then metering your ribbon when finished the repair to check for any shorts before powering up the ribbon.
Always meter your connections to check for shorts before powering the ribbon back up.
Step 1: Identify damaged segment, in this case it is magenta due to a missing colour
Step 2: Cut out damaged segment using a sharp knife; leaving complete pads on both sides of the segment
Step 3: Completely remove the damaged segment (note the complete soldering pads that were left)
Step 4: The ribbon is working to the removed section
Step 5: Cut a replacement segment on the cut lines
Step 6: Place cut segment lining up the soldering pads on the cut lines
Step 7: Bridge solder the input side solder pads
Step 8: The replacement segment now works
Step 9: Bridge solder the output side solder pads
Step 10: Repair complete! The entire LED ribbon is now working with no damaged segments.